Introduction
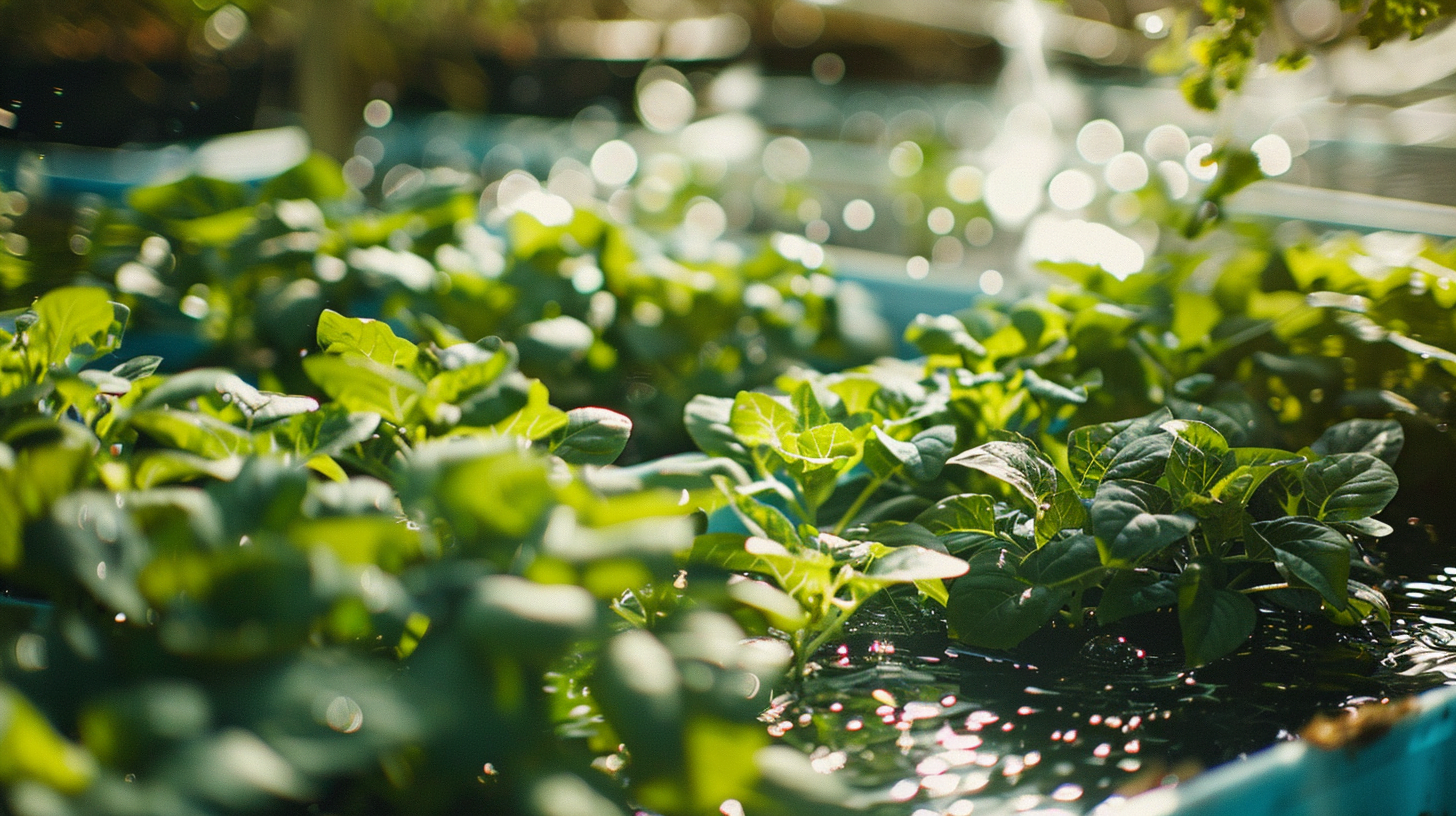
Hydroponics has been growing in popularity as a soilless gardening method. By delivering nutrient solutions directly to the roots, hydroponic growers can achieve faster growth rates and higher yields. But starting a high-tech hydroponic system can seem daunting for beginners who ask, “what is a wick system for hydroponics?”.
Wick systems offer a simple passive hydroponic option perfect for those just getting started with hydroponics. Wick systems use capillary action to transport water and nutrients to the roots without the need for electricity or pumps. If you want to dip your toes into hydroponics growing, wick systems are the ideal way to get started.
What Are Wick Systems and How Do They Work?
Wick systems, also called passive sub-irrigation systems, move water and nutrients from a reservoir to the plant roots using a wicking material. The wick acts like an artificial soil medium, using capillary action to absorb and transport the solution to the plants’ roots.
As the plants absorb water and nutrients, the wicking material pulls more solution from the reservoir below to replenish what was taken up. This passive system doesn’t require any moving parts or electricity.
The main components in a wick system are:
- Reservoir – Holds the hydroponic nutrient solution. This is often a plastic tub, bucket, or other container. It should be opaque to keep light from promoting algae growth.
- Wicks – Made from materials like nylon rope, cotton rope, or shoelaces which absorb and transport the solution through capillary action.
- Growing Tray – Holds the plants, anchors the wicks, and provides support. The trays often have drainage holes so any excess solution drips back down into the reservoir.
- Submersible Pump (optional) – An air pump can provide aeration and circulation but isn’t required.
The reservoir sits below the growing tray, with the wicks traveling upwards from the nutrient solution to the base of the plants. The natural wicking action eliminates the need for power and timers to irrigate the plants. It’s a completely passive, low-maintenance system.
Selecting Containers and Reservoirs
The reservoir holds the hydroponic nutrient solution that feeds the plants. Look for sturdy, food-safe containers made of plastic or other opaque materials to prevent light exposure.
5-10 gallon buckets or storage bins work great for small wick systems. Make sure the container is tall enough to hold the volume of solution needed while leaving a gap for the wicks to trail down into the liquid. Allow at least 2 inches of clearance between the max solution line and the top of the reservoir.
For the growing tray, you can purchase a purpose-built tray, use a plastic tub with drainage holes added, or even construct a wooden planter box lined with plastic. Make sure it is large enough to hold your intended plants and has a lip or edge to secure the wicks. Trays 12 inches deep allow adequate root and wick space for leafy greens.
Choosing Your Wicking Material
The wicks transport nutrients and moisture from the reservoir up to the plants using capillary action. Effective wicking materials include:
- Nylon rope
- Cotton rope or twine
- Braided cotton shoelaces
- Nylon or cotton cord
- Felt strips
Aim for wicks that are absorbent but also durable. For each plant, use one to two wicks that reach all the way from the bottom of the reservoir up to 2-3 inches above the top of your growing medium. This ensures the roots get continual access to solution even as the level drops. More wicks are needed for larger plants.
Make sure the diameter of the wicks provides enough surface area for moisture transport but still fits easily through openings in the growing tray. 1⁄4 inch diameter wicks work well for most home systems. Cut the wicks to length with scissors for a custom fit.
Selecting the Growing Medium
The growing medium anchors the wicks and provides stability for the plants. Non-soil mediums are ideal to prevent clogging. Options include:
- Perlite
- Vermiculite
- LECA clay pebbles
- Coconut coir
- Gravel
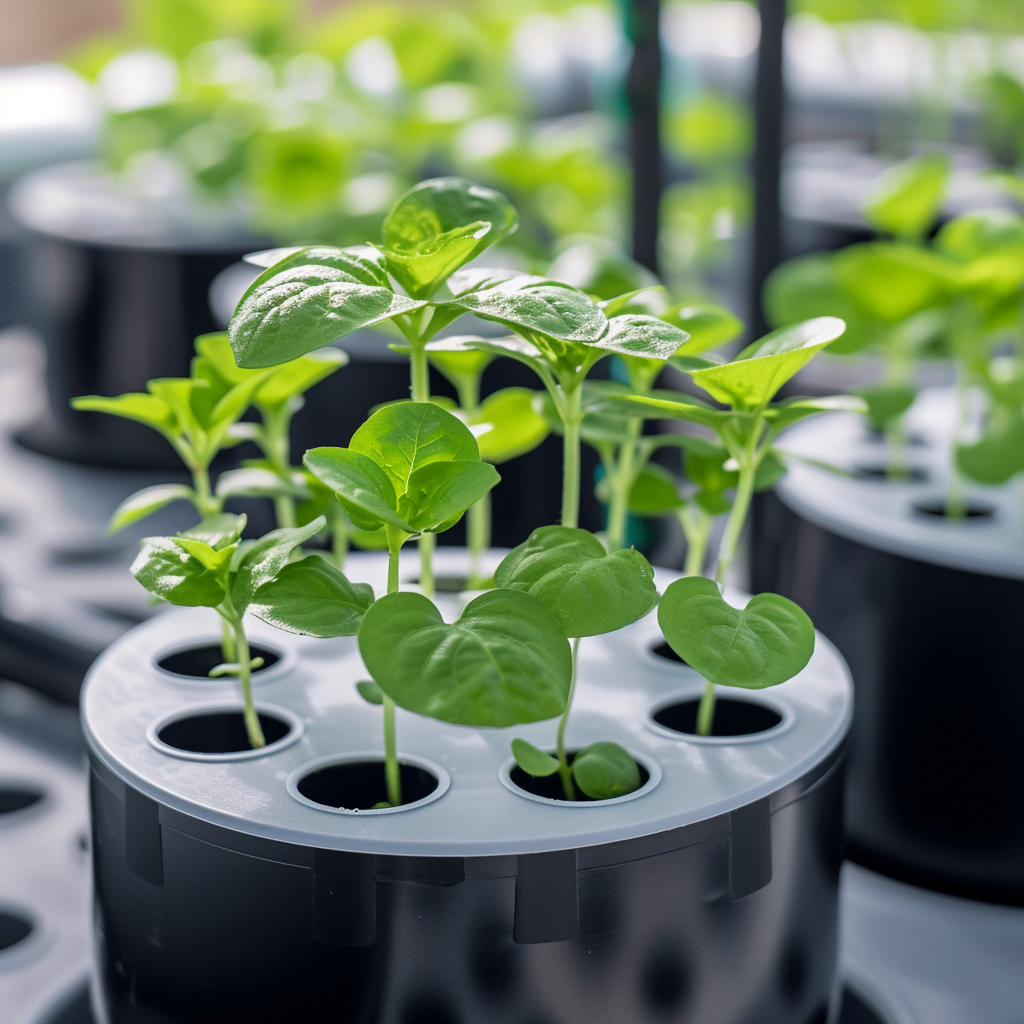
Perlite and vermiculite are common choices for wick systems. Fill your growing tray 2/3 full with the medium, then plant seeds or insert seedlings. Insert one end of the wicks into the medium underneath each plant, keeping the wick anchored in place.
The medium should be loose and aerated, not packed down. Maintain a pH between 5.5-6.5 in the root zone. Sprinkle in a little dolomitic lime if the medium starts to get too acidic.
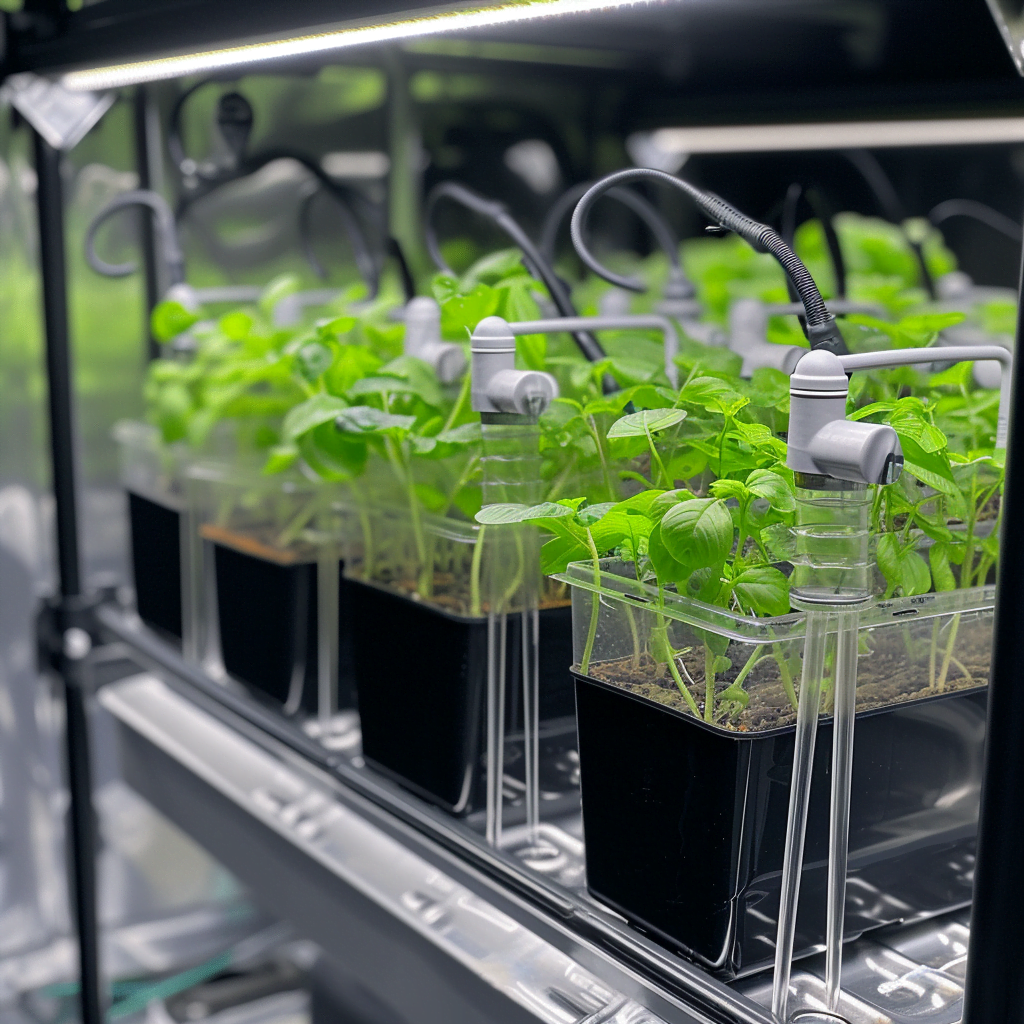
Setting Up Your Wick System
Once you’ve gathered your containers, wicks, pumps, and growing medium, it’s time to set up your wick hydroponics system:
- Thoroughly clean and sanitize your reservoirs and trays to prevent disease.
- Cut wicks to length so they reach the reservoir bottom up to 2-3 inches above the growing medium.
- Fill growing tray 2/3 full with growing medium like perlite.
- Plant seeds or insert transplants into the medium.
- Place one wick end under the base of each plant, anchoring it into the medium.
- Trail the other wick ends down into the nutrient reservoir.
- Ensure the tray is level and stable. Place your system near a light source if growing indoors.
- Mix your hydroponic nutrients and pH adjust if needed. Pour into the reservoir.
- Let wicks soak up solution, then monitor level and refill as needed.
- Add your submersible pump if using one. Enjoy your hydroponic plants!
Mixing Nutrient Solutions
Wick systems use a diluted hydroponic nutrient solution in the reservoir. Purchase a standard hydroponic fertilizer and mix according to label instructions based on the plant type. For variety, you can use:
- General purpose or vegetable nutrient blends
- Calcium and magnesium supplements
- Seaweed extracts for micronutrients
- pH buffers and adjusters
Mix the fertilizers in clean, non-chlorinated water. Check the solution’s pH after mixing – it should be between 5.5-6.5 for hydroponic systems. Add pH up or down solutions to adjust as needed.
Start with 25-50% of the label strength while plants are young or seedlings. Gradually increase to 100% strength as they mature. Change the reservoir solution every 2 weeks to avoid salt buildup.
Operating Your Wick System
One of the perks of wick systems is their low-maintenance operation. Here are tips for keeping your system running smoothly:
- Check nutrient levels daily and top off with fresh solution as needed. Mark the reservoir fill line.
- Every 1-2 weeks, dump out old solution and mix a fresh batch. Rinse reservoir to prevent salt buildup.
- Prune back dead roots and remove any dying leaves/plants immediately to prevent spreading issues.
- Monitor pH and EC (total dissolved solids) with a meter. Keep pH 5.5-6.5 and EC suitable for your crop type.
- Clean debris from the growing tray and wick tops as needed. Trim wicks if they become clogged.
- Completely change out wicks every 2-3 months for best results.
Best Plants for Wick Systems
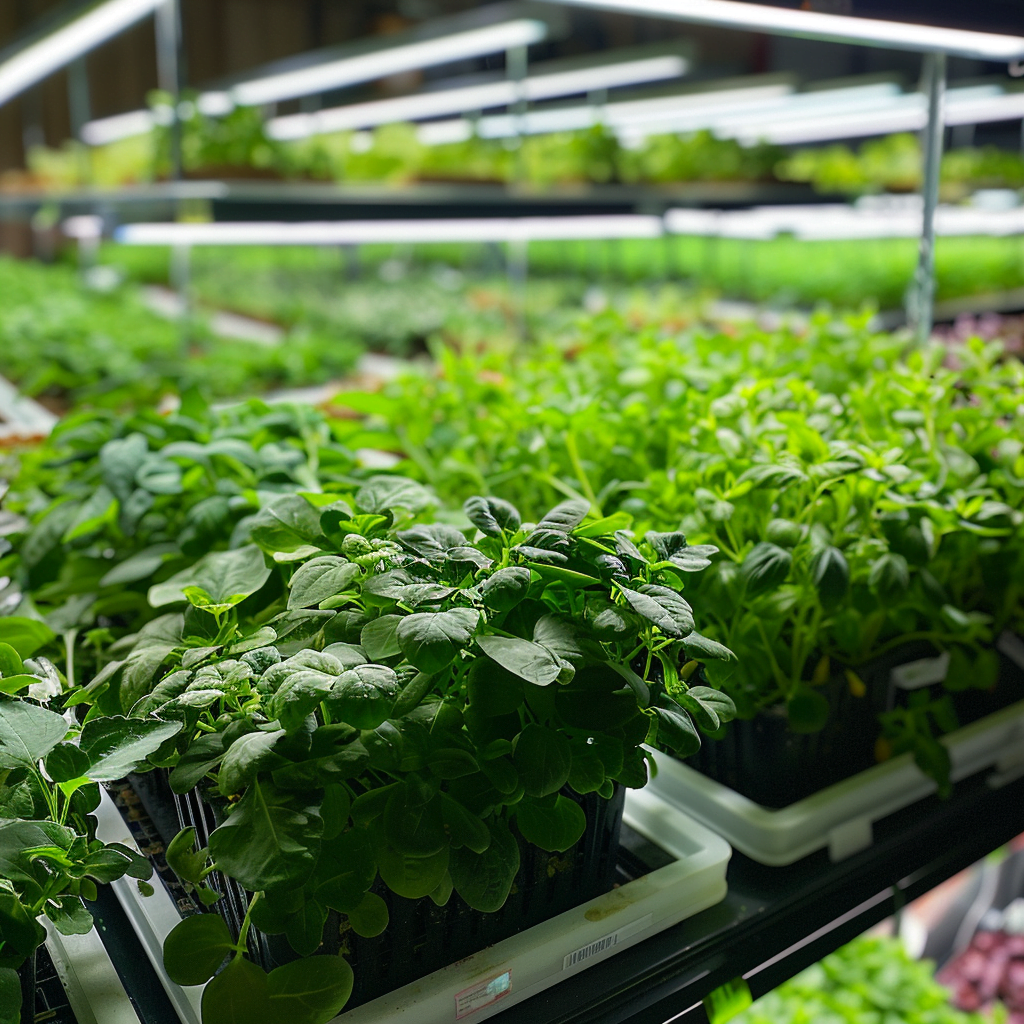
Wick systems are great for raising herbs, greens, flowers, and houseplants. Some top options include:
- Lettuce & Leafy Greens – Spinach, kale, arugula, Swiss chard
- Herbs – Basil, mint, oregano, cilantro
- Flowers – Geraniums, begonias, African violets
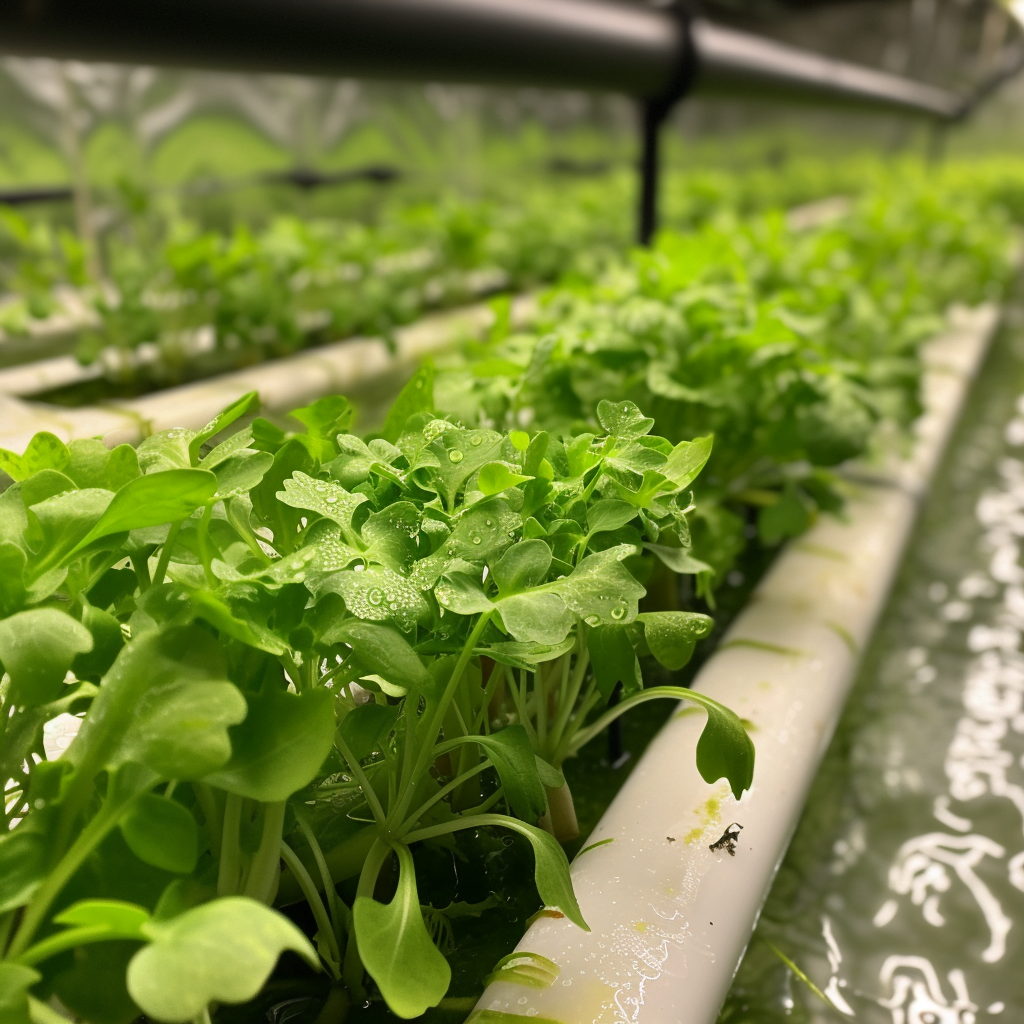
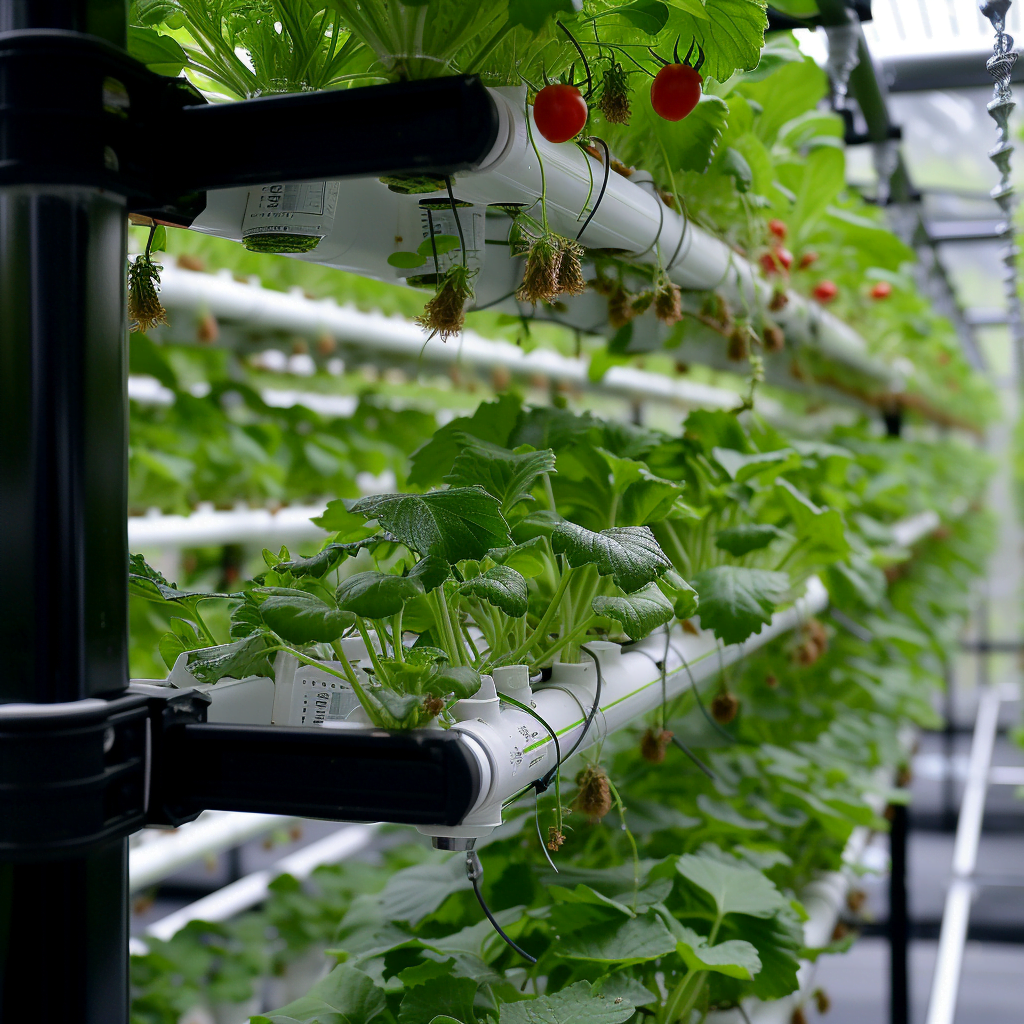
- Strawberries & Microgreens – For vertical growing
- Tropical houseplants – Orchids, bromeliads, anthurium
Avoid larger plants with extensive root systems like tomatoes, cucumbers, or squash. Wick systems excel at growing smaller, low to medium feeders that don’t require much root space.
Advantages and Disadvantages of Wick Systems
Pros
- Very low maintenance and easy operation
- Low cost and readily available materials
- Passive system requires no electricity
- Portable – can be moved as needed
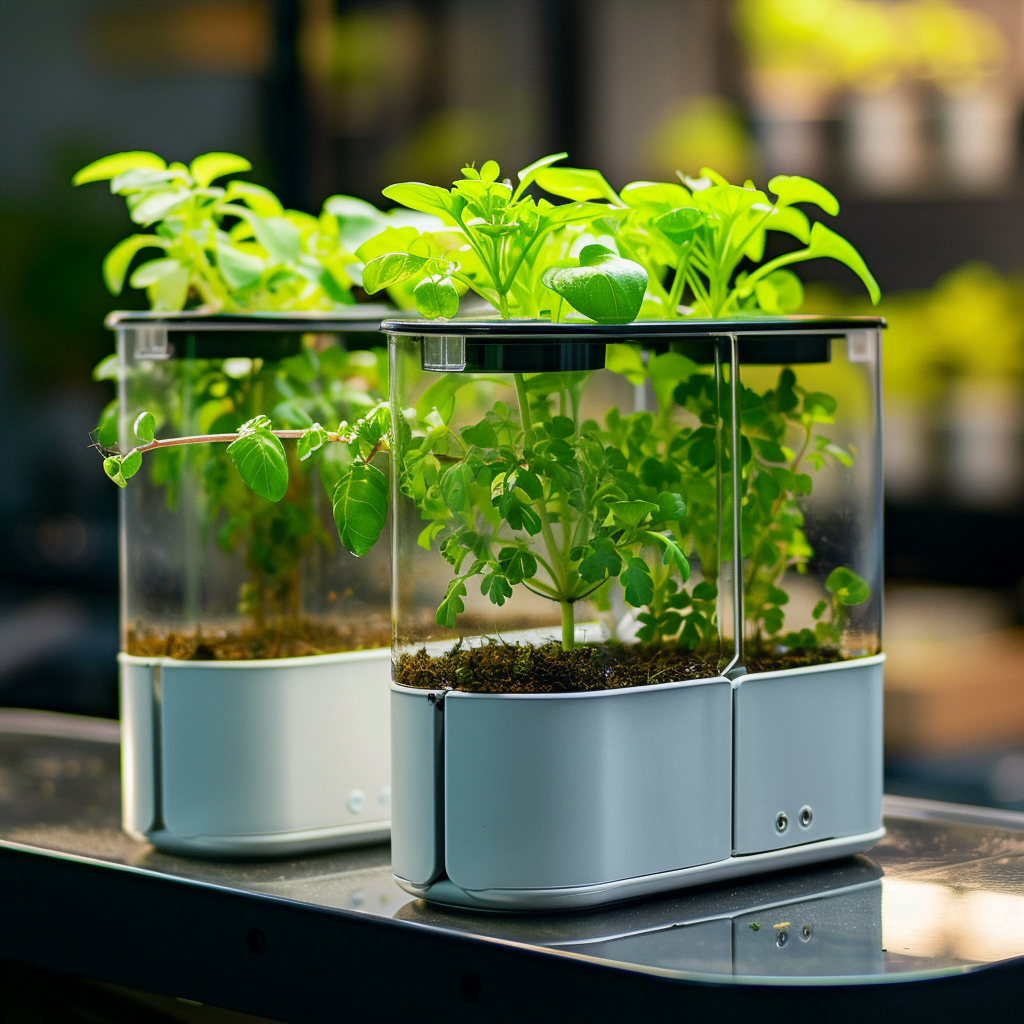
- Ideal for small-scale home & urban growing
Cons
- Not suited for large or fast-growing crops
- Nutrients can stagnate without circulation
- Evaporation from reservoir can be an issue
- Limited capacity compared to active systems
Troubleshooting Common Wick System Problems
Even simple wick systems may run into occasional issues. Here are some common problems and solutions:
Problem: Plants appear stunted, yellow, or nutrient deficient
Solution: Test pH and nutrient levels. Increase EC or concentration if too low.
Problem: Algae growth in reservoir
Solution: Use an opaque container for the reservoir. Limit light exposure.
Problem: Slow wicking and dry medium
Solution: Use fresh wicks, ensure they are fully submerged in the reservoir. Increase number of wicks per plant if needed.
Problem: Salt buildup on wicks
Solution: Flush the system and change reservoir solution every 1-2 weeks. Clean wicks with fresh water between uses.
Problem: Mold or slime in reservoir
Solution: Totally empty, clean and sanitize reservoir. Replace wicks. Use purified water.
Problem: Gnats or other insects
Solution: Remove affected plants immediately and treat reservoir/medium with a biological larvicide. Sticky traps can also control adults.
Problem: Poor seed germination or cuttings failing to root
Solution: Ensure temperature and humidity levels are ideal. Use a propagation mat or dome.
Problem: pH fluctuating up and down
Solution: Use a digital pH meter for accuracy. Calibrate regularly. Increase buffering capacity of nutrients.
Expanding Your Wick System
Once you get the basics down, there are ways to upgrade your wick system:
- Use a larger reservoir for increased capacity. Adding a fill pipe makes refilling easier.
- Install an aquarium air pump and air stones to aerate and circulate the reservoir if stagnation becomes an issue.
- Use an electronic pH/EC meter for precise monitoring rather than test strips.
- Try a flood and drain style – alternatively flood the medium from top and drain back to reservoir on a timer.
- Automate by connecting a float valve to maintain reservoir levels without daily monitoring.
- Stack multiple growing trays vertically with longer wicks to increase grow space.
Final Thoughts
Wick systems offer an incredibly simple, low-cost entry point into hydroponic gardening. With readily available containers and materials, anyone can set up their own system and enjoy growing without soil. Although limited in size, wick systems are productive, efficient, and easy to operate. If you want to sample hydroponics without the complexity, wick systems are the perfect place to start your journey!