Table of Contents
Are you ready to dive into the world of hydroponic seedling propagation? If you’re looking for a sustainable, efficient, and effective method to start your plants, you’ve come to the right place. In this comprehensive guide, we’ll explore how to propagate seedlings using coco coir for hydroponics. Whether you’re a seasoned hydroponic gardener or just starting out, this article will provide you with all the information you need to successfully grow healthy seedlings in coco coir.
Understanding Coco Coir
Before we jump into the nitty-gritty of seedling propagation, let’s take a moment to understand what coco coir is and why it’s such a fantastic medium for hydroponic seedlings.
Coco coir, often simply called “coir,” is a natural fiber extracted from coconut husks. It’s a byproduct of the coconut industry, making it an eco-friendly choice for gardeners. But its benefits don’t stop there. Coco coir boasts an impressive list of qualities that make it ideal for hydroponic seedling propagation:
- Excellent water retention: Coco coir can hold up to 10 times its weight in water, ensuring your seedlings stay hydrated.
- Great aeration: Despite its water-holding capacity, coco coir also provides plenty of oxygen to roots.
- pH neutral: With a pH typically between 5.5 and 6.5, coco coir is perfect for most plants.
- Renewable and sustainable: As a byproduct, coco coir is an environmentally friendly choice.
- Pest and disease resistant: Coco coir naturally resists many common pests and diseases.
However, like any growing medium, coco coir does have a few challenges. It can sometimes be high in salts, which can affect nutrient uptake. But don’t worry – we’ll cover how to overcome this later in the article.
Preparing Coco Coir for Seedling Propagation
Now that we understand what coco coir is, let’s get our hands dirty and prepare it for our seedlings. The preparation process is crucial for successful seedling propagation in coco coir.
Choosing the Right Type of Coco Coir
Not all coco coir is created equal. For seedling propagation, you’ll want to choose a fine-grade coco coir. This finer texture provides better water retention and aeration for delicate seedling roots. Look for products specifically labeled for seedling propagation or hydroponics.
Hydrating and Buffering Coco Coir
Coco coir typically comes in compressed bricks or bags. Before use, you’ll need to hydrate it. Here’s a step-by-step process:
- Break up the coco coir brick into a large container.
- Add warm water gradually, mixing as you go. Use about 5 liters of water per 650g brick.
- Let the mixture sit for at least 30 minutes to fully absorb the water.
- Squeeze out excess water. The coir should be damp but not soaking.
After hydrating, it’s crucial to buffer your coco coir. This process helps remove excess salts and balances the cation exchange capacity. Here’s how:
- Mix a calcium-magnesium solution according to the manufacturer’s instructions.
- Soak the hydrated coir in this solution for 8-12 hours.
- Rinse thoroughly with plain water until the runoff is clear.
Testing and Adjusting pH and EC Levels
Before sowing your seeds, it’s important to check and adjust the pH and electrical conductivity (EC) of your coco coir.
- Ideal pH range: 5.5-6.5
- Ideal EC range: 0.5-1.0 mS/cm for seedlings
Use a pH meter and EC meter to test your coco coir. If adjustments are needed, use pH up or down solutions and adjust your nutrient concentration accordingly.
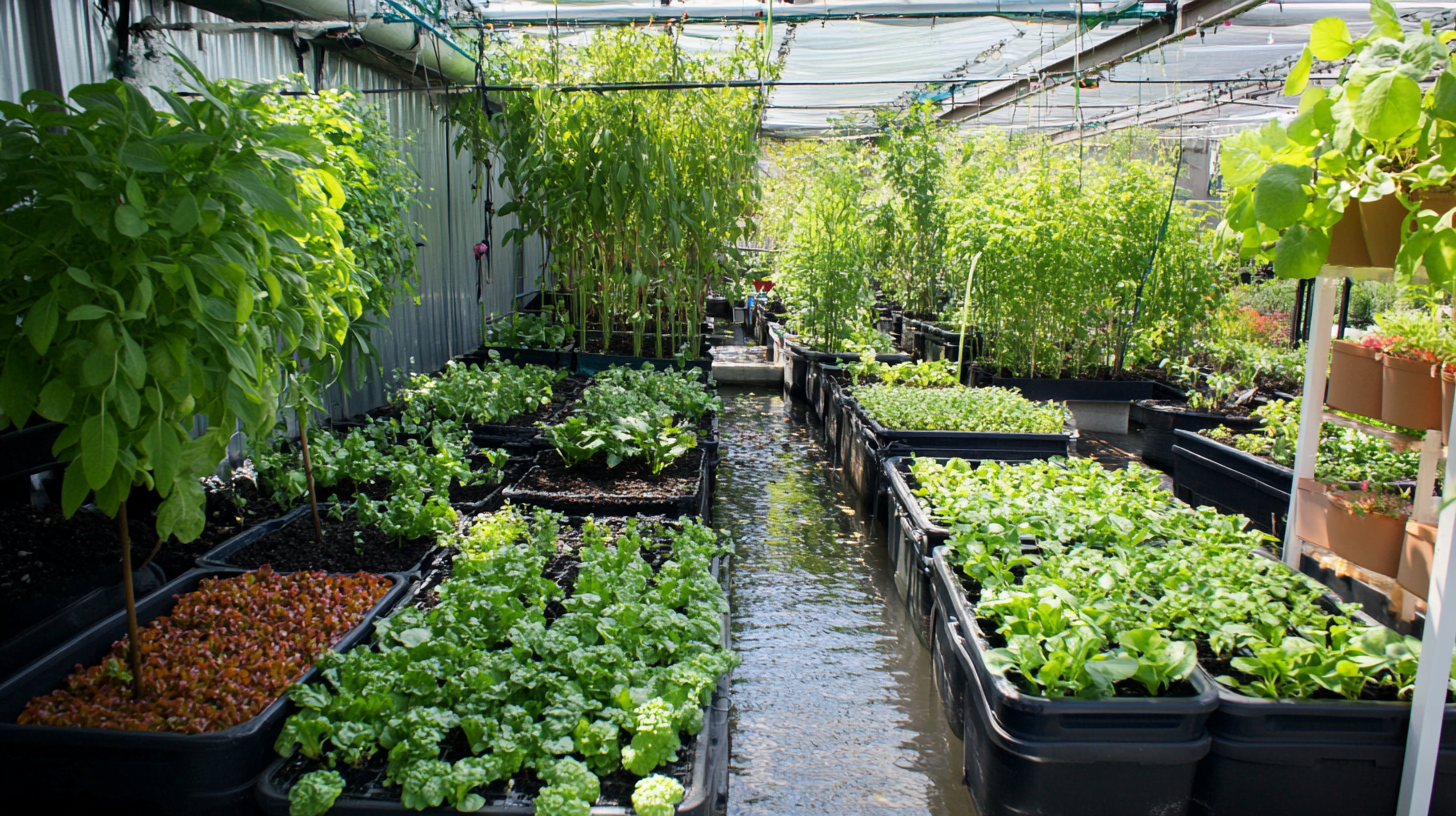
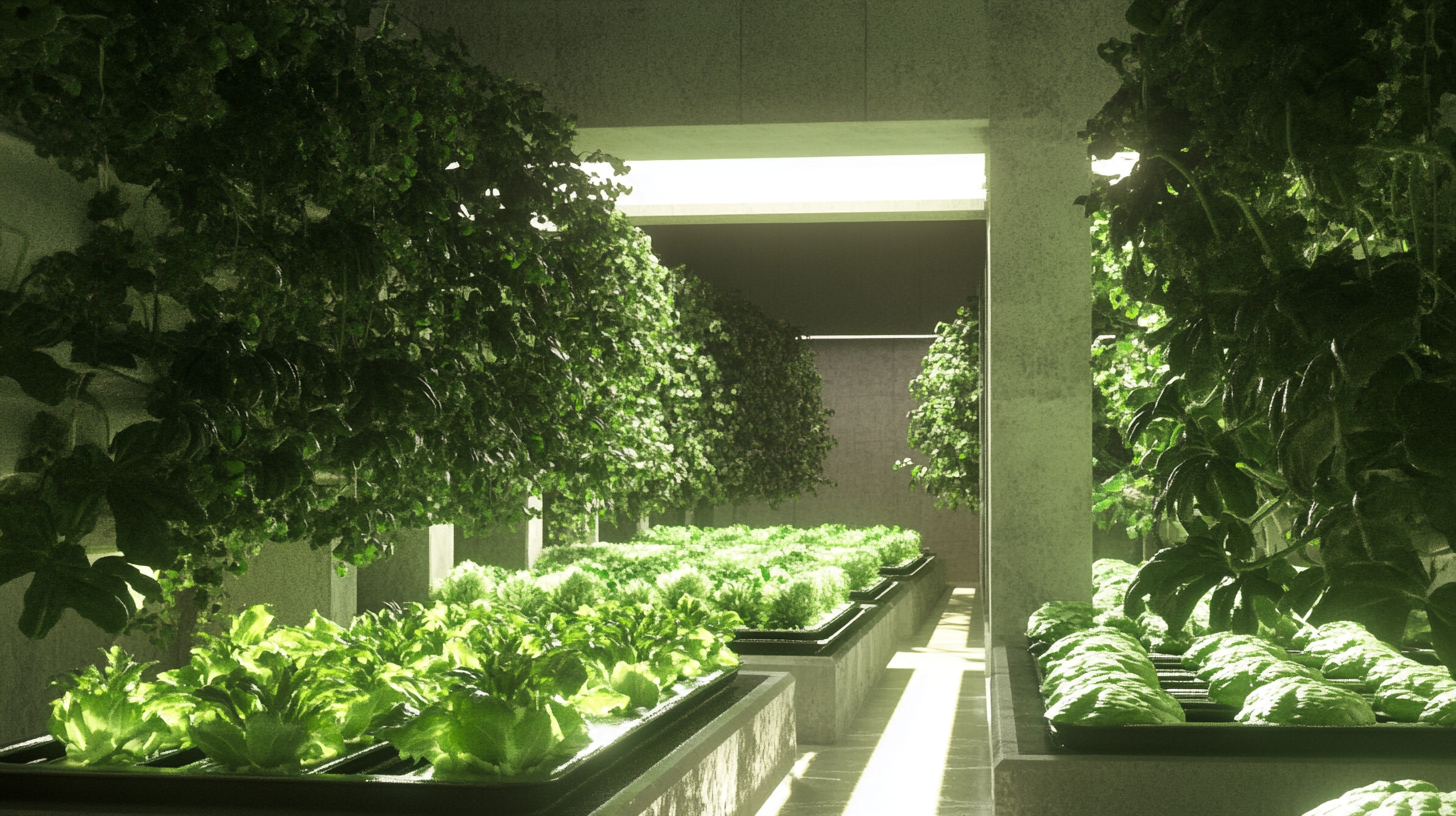
Setting Up Your Propagation System
With your coco coir prepared, it’s time to set up your propagation system. The right setup will give your seedlings the best start in life.
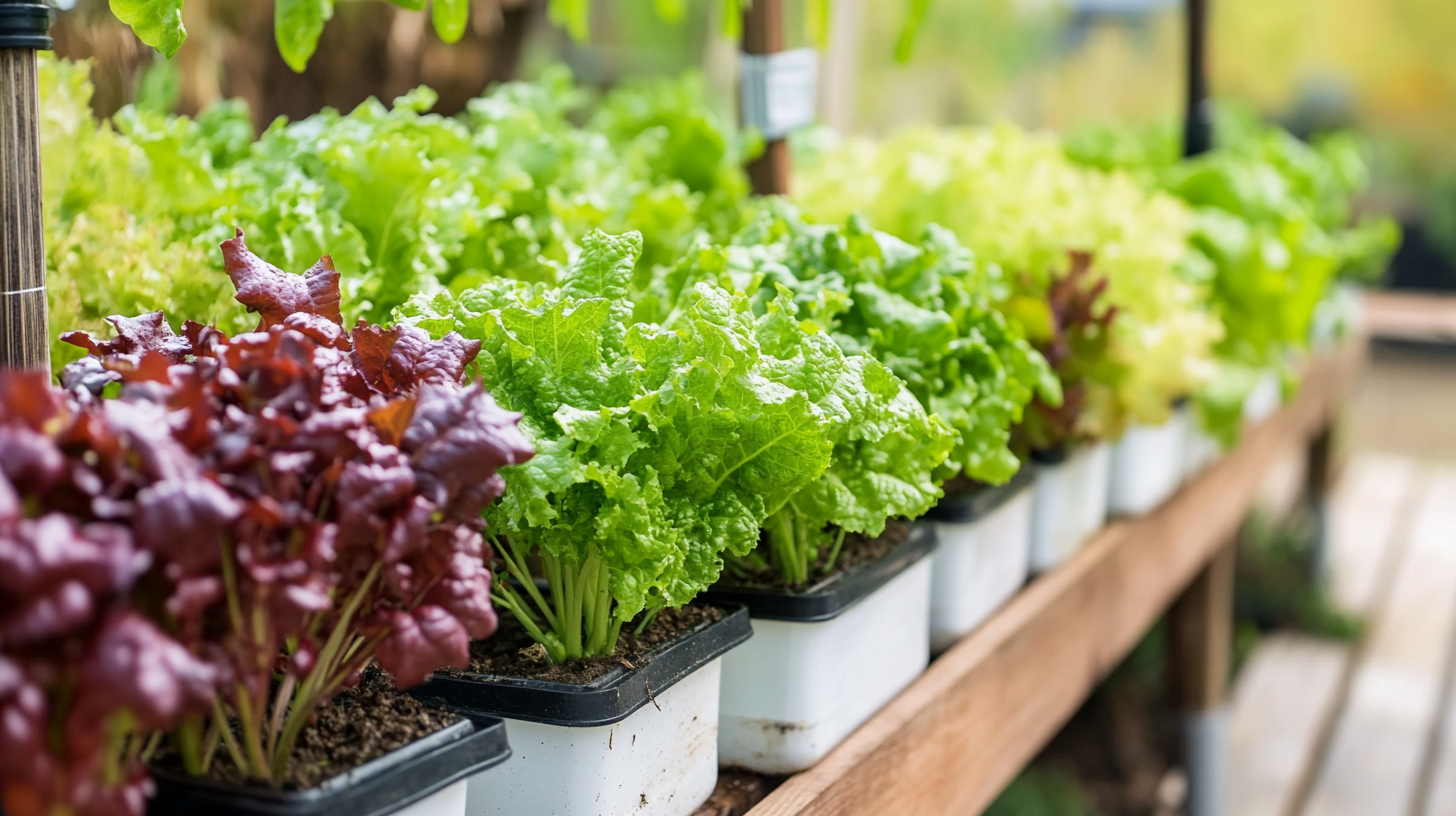
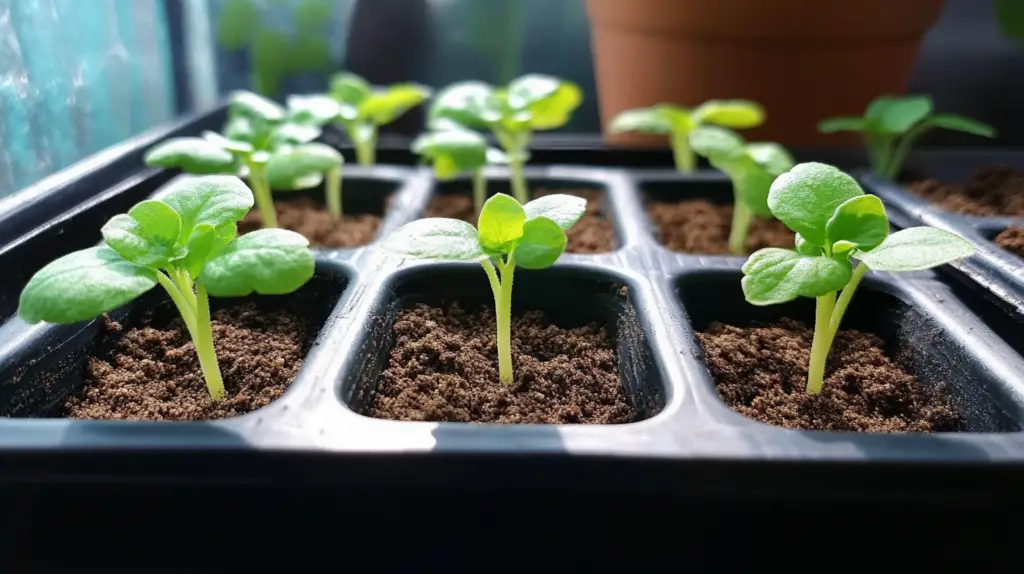
Choosing the Right Containers or Trays
For seedling propagation, you have several options:
| Container Type | Pros | Cons |
|---|---|---|
| Seedling trays | Easy to manage multiple seedlings | Limited root space |
| Rockwool cubes | Excellent water retention | Not biodegradable |
| Coco coir pellets | Biodegradable, easy to transplant | Can dry out quickly |
| Small pots | More root space | Takes up more room |
Choose based on your space, the number of seedlings you’re starting, and your transplanting plans.
Creating the Ideal Growing Environment
Seedlings thrive in a warm, humid environment. Here’s what you need to aim for:
- Temperature: 70-80°F (21-27°C)
- Humidity: 60-70%
- Air circulation: Gentle, constant airflow to prevent mold
Consider using a heat mat to maintain consistent soil temperature and a humidity dome to keep moisture levels high.
Lighting Requirements for Seedlings
Light is crucial for seedling growth. While natural sunlight can work, many hydroponic growers prefer LED grow lights for consistent results. Here are some tips:
- Start with 14-16 hours of light per day
- Keep lights 2-4 inches above seedlings
- Use full-spectrum lights for balanced growth
- Adjust light intensity and duration as seedlings grow
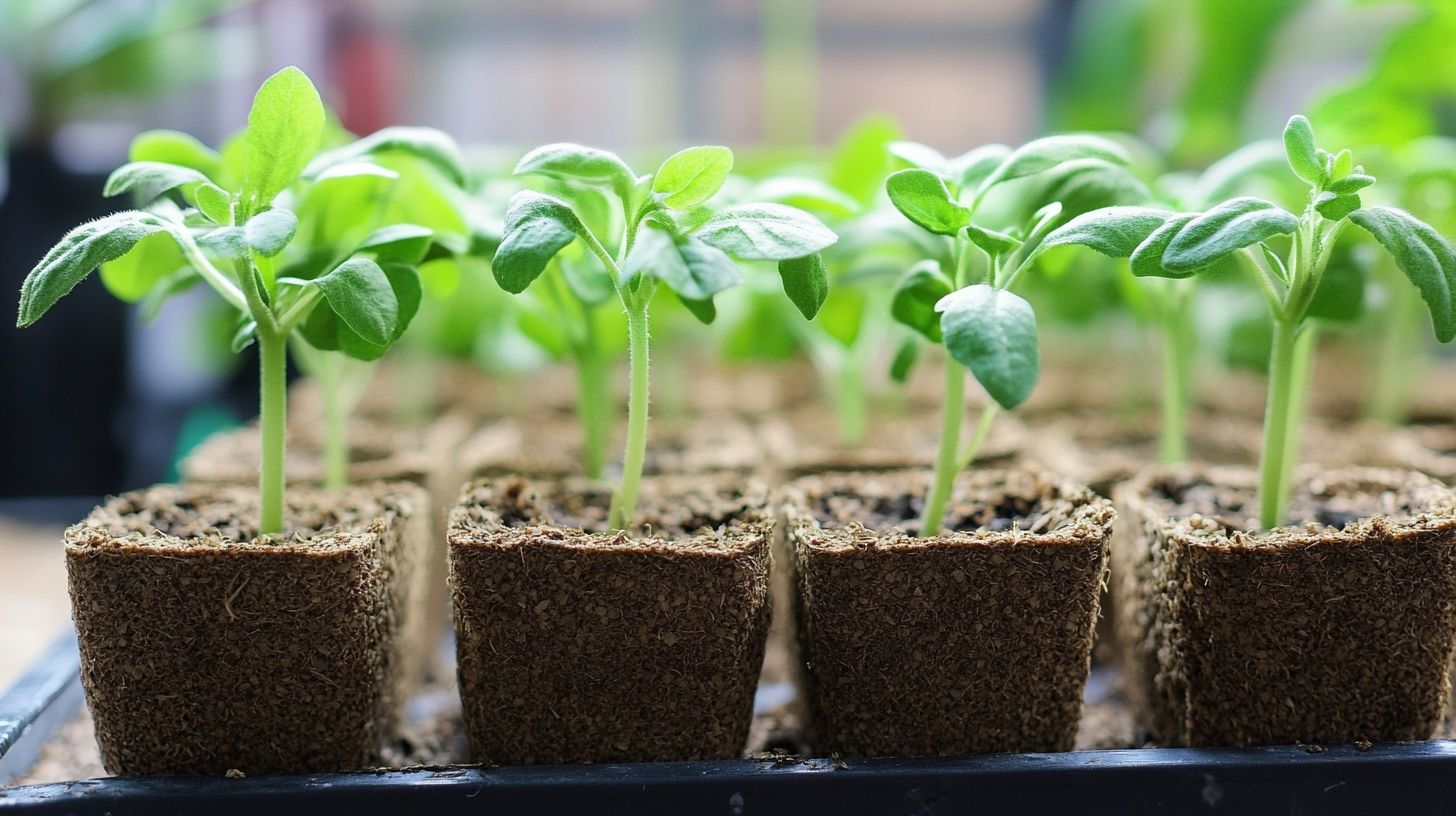
Sowing Seeds in Coco Coir
Now comes the exciting part – sowing your seeds! This process requires care and attention to detail, but with these steps, you’ll be well on your way to healthy seedlings.
- Moisten the coco coir thoroughly before planting.
- Make small indentations in the coir, about 1/4 inch deep.
- Place 1-2 seeds in each indentation.
- Gently cover with a thin layer of coco coir.
- Mist the surface to ensure good seed-to-medium contact.
- Cover the tray with a clear dome or plastic wrap to maintain humidity.
Remember, different seeds have different requirements. Always check the specific needs of the plants you’re growing.
Caring for Seedlings in Coco Coir
Once your seeds have sprouted, it’s time to focus on seedling care. This stage is critical for developing strong, healthy plants for your hydroponic system.
Watering and Moisture Management
Coco coir excels at moisture retention, but proper watering is still crucial. Here are some tips:
- Keep the coir consistently moist but not waterlogged
- Water from the bottom to encourage root growth
- Use room temperature water to avoid shocking seedlings
- As seedlings grow, gradually reduce watering frequency to encourage deeper root growth
Nutrient Requirements for Seedlings
Seedlings in coco coir will need nutrients earlier than those in soil. Start with a diluted nutrient solution (about 1/4 strength) once the first true leaves appear. Gradually increase to full strength as the seedlings grow.
Key nutrients for seedlings include:
- Nitrogen (N) for leaf growth
- Phosphorus (P) for root development
- Potassium (K) for overall plant health
- Calcium (Ca) and Magnesium (Mg) for strong cell walls
Monitoring and Adjusting Environmental Conditions
Keep a close eye on your seedlings and be ready to adjust conditions as needed:
- Temperature: Maintain 70-80°F (21-27°C)
- Humidity: Start high (70-80%) and gradually reduce to 50-60% as seedlings grow
- Air circulation: Increase gradually to strengthen stems
- Light: Adjust height and intensity as seedlings grow
Common Issues and Troubleshooting
Even with the best care, issues can arise. Here are some common problems and how to address them:
Dealing with Mold or Fungus Growth
Mold or fungus can be a sign of excessive moisture. To combat this:
- Improve air circulation
- Reduce watering frequency
- Remove affected seedlings to prevent spread
- Consider using a natural fungicide like neem oil
Addressing Nutrient Deficiencies
Nutrient deficiencies can show up as discolored or misshapen leaves. Common deficiencies and their symptoms include:
- Nitrogen: Yellowing of older leaves
- Phosphorus: Purple stems or leaves
- Potassium: Brown leaf edges
If you spot these signs, adjust your nutrient solution accordingly.
Managing Pests in Coco Coir Seedlings
While coco coir is naturally pest-resistant, vigilance is still important. Common pests include:
- Fungus gnats
- Spider mites
- Aphids
Regular inspection and prompt treatment with organic pest control methods can keep these invaders at bay.
Transplanting Seedlings from Coco Coir to Hydroponic Systems
When your seedlings have developed 2-3 sets of true leaves and a strong root system, they’re ready for transplanting. Here’s how to make the transition smooth:
- Gently remove the seedling from the coco coir, keeping as much of the root system intact as possible.
- Rinse the roots gently to remove excess coco coir.
- Place the seedling in your hydroponic system, ensuring the roots are well-covered by the growing medium or nutrient solution.
- Start with a diluted nutrient solution and gradually increase to full strength over a week.
- Monitor closely for signs of transplant shock and adjust conditions as needed.
Tips for Success
To wrap up, here are some key tips for successful seedling propagation using coco coir for hydroponics:
- Keep it clean: Always use sterile equipment and growing media to prevent disease.
- Be patient: Germination and early growth can take time. Don’t rush the process.
- Keep records: Note down your methods, successes, and challenges for future reference.
- Experiment: Try different techniques and seed varieties to find what works best for you.
- Stay consistent: Regular care and attention are key to healthy seedlings.
By following these guidelines and tips, you’ll be well on your way to mastering seedling propagation using coco coir for hydroponics. Remember, every grower’s journey is unique, so don’t be afraid to adapt these techniques to your specific needs and environment. Happy growing!