Table of Contents
Rockwool has become a go-to medium for hydroponic enthusiasts, offering a unique blend of water retention and aeration that’s hard to beat. But before you can reap its benefits, you need to know how to prepare rockwool for hydroponics properly. This comprehensive guide will walk you through every step, from understanding what rockwool is to advanced techniques for its preparation, ensuring your hydroponic garden thrives from the roots up.
Understanding Rockwool: The Foundation of Your Hydroponic Garden
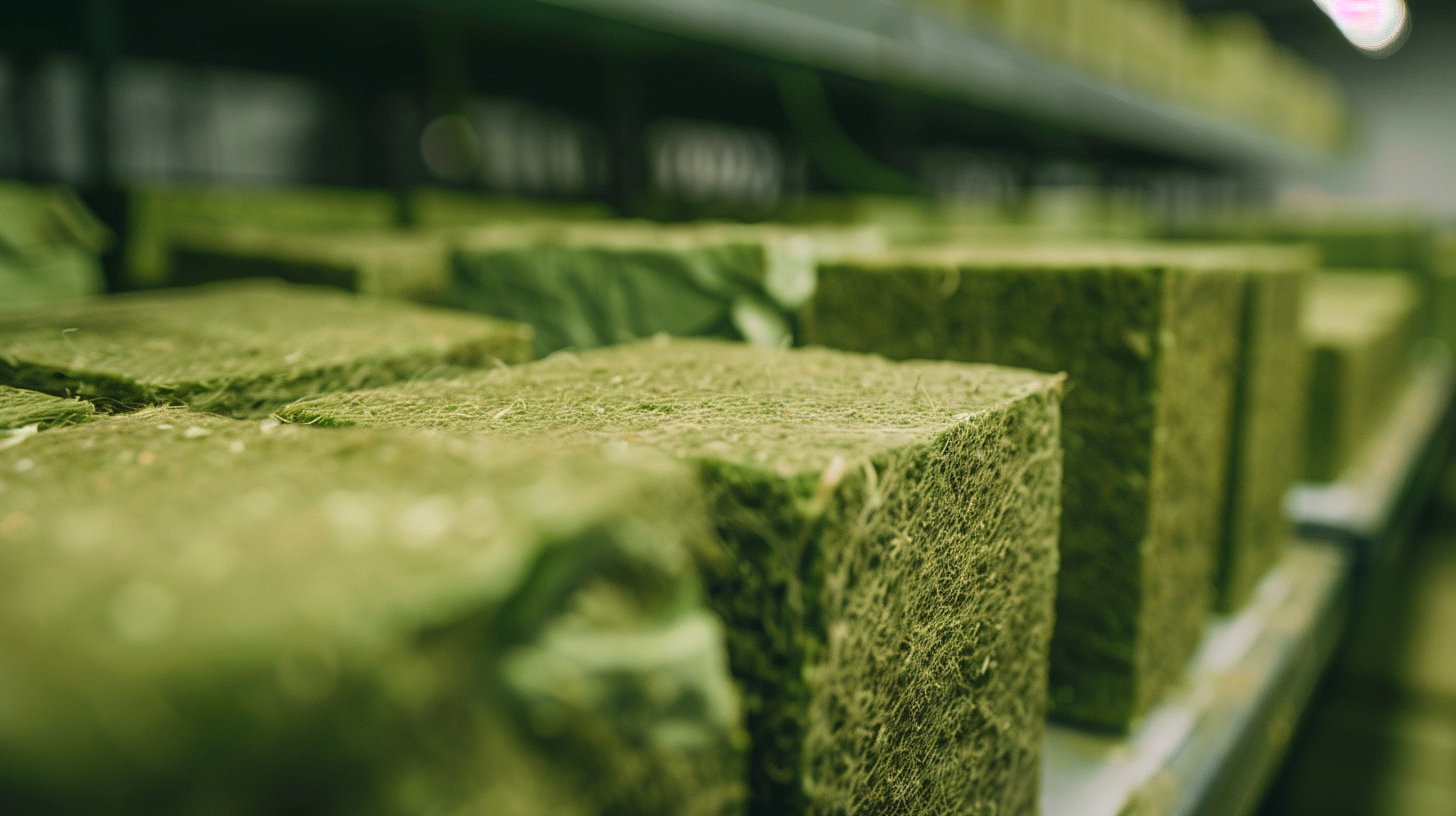
Rockwool, also known as stone wool, is a versatile growing medium made from molten rock spun into fine fibers. It’s like cotton candy, but for plants! This unique material boasts an impressive list of properties that make it ideal for hydroponics:
- High water retention
- Excellent aeration
- Sterile environment for root growth
- Consistent structure
- Inert nature (doesn’t interact with nutrients)
- Excellent insulation properties
While rockwool shines in many areas, it’s not without its quirks. Its high pH can be a challenge, and it’s not the most eco-friendly option out there. But don’t worry – we’ll cover how to tackle these issues head-on as we progress through this guide.
The History of Rockwool in Hydroponics
Rockwool wasn’t always a staple in the hydroponic world. Originally developed as an insulation material in the 1930s, it wasn’t until the 1960s that Danish horticulturists realized its potential for plant cultivation. Since then, it has revolutionized hydroponic growing, offering a consistent and controllable medium that’s hard to match.
Gathering Your Arsenal: Tools for Rockwool Preparation
Before you dive in, make sure you’ve got all your ducks in a row. Here’s a comprehensive list of what you’ll need:
- Rockwool cubes or slabs
- pH testing kit (digital meters are most accurate)
- pH adjusting solution (usually pH down)
- Nutrient solution
- Large container for soaking
- Protective gear (gloves, mask, goggles)
- Sharp knife or saw (for cutting larger slabs)
- Measuring tape or ruler
- Clean spray bottle
- Humidity dome (for seedling stage)
Pro tip: Always wear protective gear when handling dry rockwool. Those tiny fibers can irritate your skin and lungs!
The Step-by-Step Guide to Preparing Rockwool for Hydroponics
1. Sizing Up: Cutting Rockwool to Fit Your System
If you’re working with larger slabs, you’ll need to cut them down to size. Here’s a detailed approach:
- Measure your system and plan your cuts. Sketch it out if needed.
- Use a sharp knife or fine-toothed saw for clean cuts. A serrated bread knife works well too.
- Aim for cubes around 1-inch for seedlings, 3-4 inches for larger plants.
- Cut slowly and steadily to avoid crushing the rockwool structure.
- If dust is an issue, lightly mist the rockwool before cutting.
Remember, precision is key. Uneven cubes can lead to inconsistent water distribution and root development issues.
2. The Soak: Hydrating Your Rockwool
Now it’s time to give your rockwool a good soak. But not just any soak – we’re talking about a pH-balanced, nutrient-rich bath that’ll set your plants up for success.
- Fill a container with water at room temperature (around 68-72°F or 20-22°C).
- Test the pH and adjust to around 5.5-6.0. This usually means adding pH down solution.
- Add a weak nutrient solution (about 1/4 strength of what you’d use for mature plants).
- Submerge your rockwool completely.
- Let it soak for at least an hour, or until thoroughly saturated. Some growers prefer to soak overnight.
- Gently squeeze the rockwool to ensure even distribution of the solution.
Why pH matters: Rockwool naturally has a high pH (around 8.0). By soaking it in a slightly acidic solution, you’re creating a more hospitable environment for your plants. Most hydroponic plants prefer a pH between 5.5 and 6.5 for optimal nutrient uptake.
3. The pH Dance: Fine-tuning Your Rockwool
After soaking, it’s time to fine-tune the pH. This step is crucial for ensuring your plants can access all the nutrients they need. Here’s how to get it just right:
- Remove the rockwool from the soaking solution.
- Let it drain until it stops dripping. This might take 15-30 minutes.
- Test the pH of the water draining from the rockwool.
- If it’s too high, prepare another batch of pH-adjusted water and re-soak.
- Repeat until the drainage water is in the correct pH range (5.5-6.5).
- Once achieved, give the rockwool a final rinse with pH-adjusted water.
Remember, patience is key. It might take a few rounds to get the pH just right. Don’t rush this process – it’s the foundation of your plants’ future health.
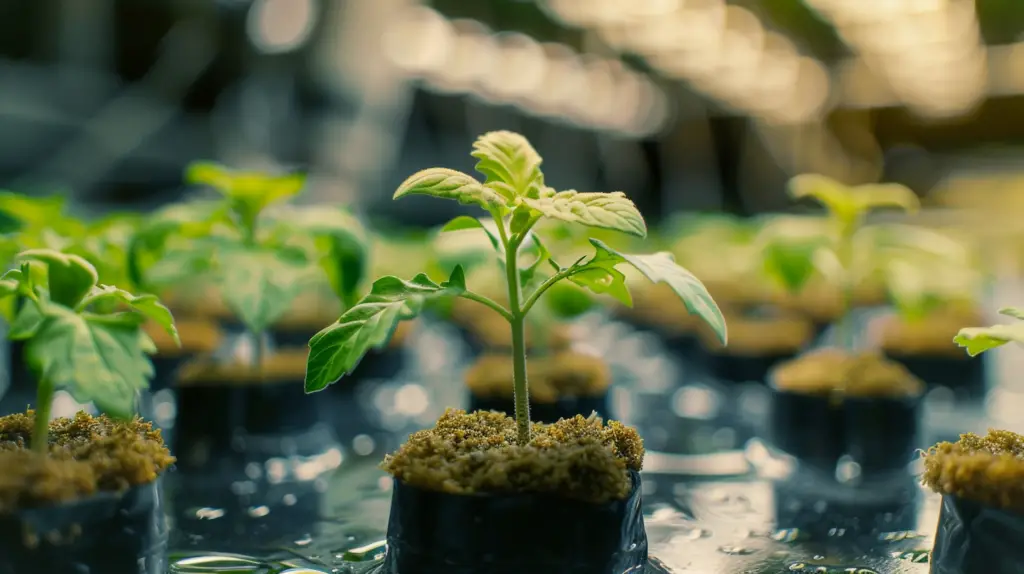
4. Planting: From Seeds to Sprouts
With your rockwool prepped and ready, it’s time to plant! Here’s a detailed guide:
- Make a small hole in the center of each cube, about 1/4 to 1/2 inch deep.
- Place 2-3 seeds in each hole. This gives you a better chance of successful germination.
- Gently cover with a bit of loose rockwool fiber. Don’t pack it too tightly.
- Keep the cubes moist but not waterlogged. A spray bottle is perfect for this.
- Maintain a warm temperature (around 70-80°F or 21-27°C) for germination.
- Place a humidity dome over your seedlings to maintain moisture levels.
- Once seedlings emerge, gradually increase light exposure.
Pro tip: Use a heat mat under your rockwool cubes to maintain optimal germination temperatures, especially in cooler environments.
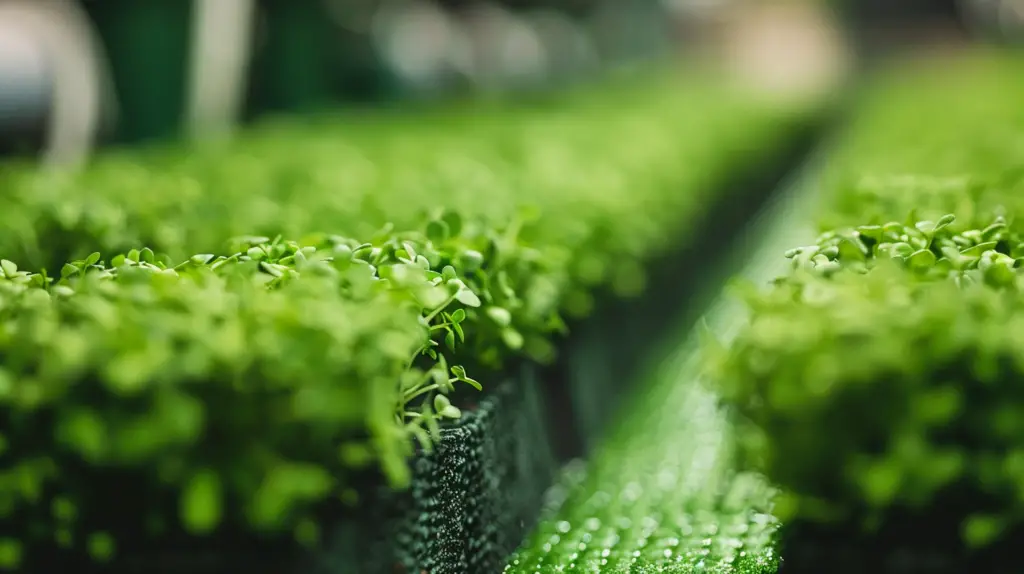
Maintaining Your Rockwool Garden: The Key to Hydroponic Success
Preparing rockwool is just the beginning. To keep your hydroponic garden thriving, you’ll need to stay on top of several factors:
- Watering: Rockwool retains water well, but don’t let it dry out completely. Aim to keep it moist but not saturated.
- Nutrient levels: Start with a weak solution and gradually increase as plants grow. Monitor EC (Electrical Conductivity) levels regularly.
- pH monitoring: Check at least twice a week and adjust as needed. pH can drift over time.
- Algae prevention: Keep rockwool covered to prevent algae growth. Use opaque materials to block light.
- Root health: Inspect roots regularly for signs of disease or oxygen deprivation.
- Temperature control: Maintain a consistent temperature in your growing area. Sudden changes can stress plants.
Case Study: Tomato Production in Rockwool
A study conducted by the University of Arizona found that tomatoes grown in properly prepared rockwool produced 30% higher yields compared to soil-grown tomatoes. The key factors were:
- Consistent pH maintenance between 5.8-6.2
- Regular nutrient solution changes
- Proper spacing of rockwool slabs for optimal root growth
Troubleshooting: When Things Go Wrong
Even with perfect preparation, issues can arise. Here are some common problems and how to solve them:
| Problem | Cause | Solution |
|---|---|---|
| Yellowing leaves | Nutrient deficiency | Increase nutrient concentration, check pH |
| Wilting plants | Over-saturation | Improve drainage, reduce watering frequency |
| Stunted growth | pH imbalance | Recheck and adjust pH, ensure proper nutrient uptake |
| Algae growth | Exposure to light | Cover rockwool, reduce light exposure to growing medium |
| Root rot | Poor aeration | Ensure proper drainage, consider adding air stones to nutrient solution |
Remember, early detection is key. Regular inspection of your plants can catch issues before they become serious problems.
Advanced Techniques: Taking Your Rockwool Game to the Next Level
Ready to level up? Try these advanced techniques:
- Double soaking: Soak once in pH-adjusted water, drain, then soak again in a nutrient solution for even better results. This can help achieve more consistent pH levels throughout the rockwool.
- Beneficial microbes: Introduce helpful bacteria to your rockwool to boost plant health and resist disease. Products containing Bacillus subtilis or Trichoderma harzianum can be particularly effective.
- Layering: Combine rockwool with other media like perlite for customized growing conditions. This can improve drainage and oxygen availability to roots.
- Pre-buffering: Some growers prefer to soak rockwool in a calcium nitrate solution before the final pH adjustment. This can help stabilize pH over time.
- Vertical gardening: Utilize rockwool’s excellent water retention properties to create vertical hydroponic systems, maximizing space efficiency.
The Environmental Angle: Sustainability in Hydroponics
While rockwool is fantastic for plants, it’s not the most eco-friendly option. Here’s how to mitigate its environmental impact:
- Reuse rockwool when possible (after thorough cleaning and sterilization).
- Explore biodegradable alternatives like coconut coir or wood fiber blocks.
- Properly dispose of used rockwool – some recycling programs accept it.
- Consider rockwool’s excellent insulation properties for other uses after its growing life.
Quote from an Expert
Dr. Lynette Morgan, a hydroponic consultant and author, states:
“While rockwool has its environmental challenges, its efficiency in hydroponic systems can lead to significant water and nutrient savings compared to soil-based agriculture. The key is responsible use and disposal.”
Wrapping Up: Your Rockwool Roadmap to Hydroponic Success
Preparing rockwool for hydroponics might seem daunting at first, but with this guide, you’re well-equipped to create the perfect growing environment for your plants. Remember these key takeaways:
- Start with quality rockwool and proper safety gear.
- Take your time with pH adjustment – it’s crucial for success.
- Monitor and maintain your system regularly.
- Don’t be afraid to experiment and find what works best for your setup.
- Consider the environmental impact and explore sustainable practices.
With patience, attention to detail, and a willingness to learn, you’ll be amazed at what you can grow in this versatile medium. Rockwool offers a level of control and consistency that’s hard to match in hydroponics, making it an excellent choice for both beginners and experienced growers.
As you embark on your rockwool hydroponic journey, remember that every garden is unique. What works for one grower might need tweaking for another. Keep detailed records of your processes and outcomes, and don’t be afraid to make adjustments as you learn.
Happy hydroponic gardening, and may your rockwool gardens flourish!